Uploading to DCP Results Service.
Results are available to upload for enrolled pattients after new results (pathology and radiology) are checked into clinical software.
A prompt will appear on DCP panel when results are available to upload.

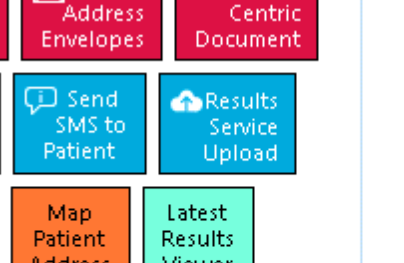
The results upload facility can be accessed via clicking on the Upload Prompt OR by the DCP Functions Icon.
DCP Results Service Upload Function icon.
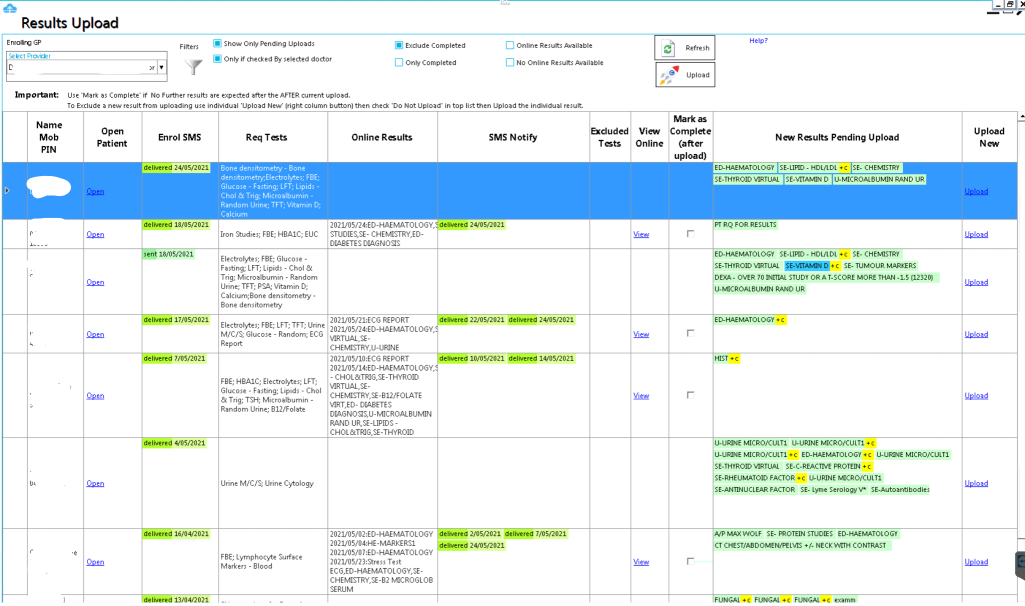
Results upload form
Selecting GP
Select doctor from the Doctor drop-down in upper left (current user is selected by default). Patients Enroled by this GP with available results will be displayed in the grid.
Grid Columns
| Grid Column | |
|---|---|
 |
Patient details. Click column header to sort |
 |
Click to open patient in clinical software |
 |
Date of enrollment is shown in the Enroll SMS column along with the status of the enrollment SMS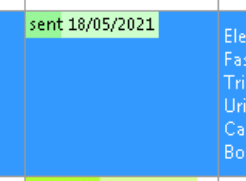 |
 |
Review the available results in the New results column on grid.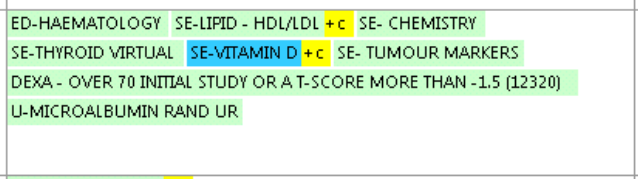 |
| Click twice on result names in the New results column to show result in popup |
 |
 |
It may help to match results being uploaded to the tests for which patient was enrolled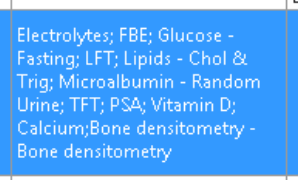 |
 |
Review dates of previous uploads for the current enrollment (Uploads can occur on separate days)  |
 |
Individual result uploads allow excluding results and changing result comments and designations. Results can also be uploaded individually using the individual upload Links in the grid |
Bulk Upload
Results can be uploaded in bulk using the bulk upload results button.
Individual result upload for review and or modification
Clicking on the Upload New Link in the rightmost column of the grid on main form will open the patient individual upload review/send form.
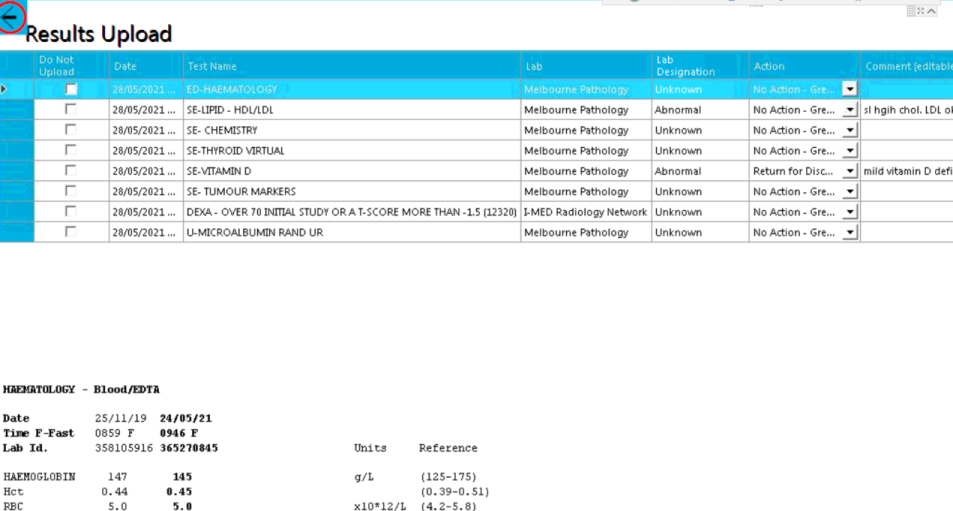
Results can be selected in the the upper grid and the result will display on lower half of form.
Comments can be edited in the grid and result designations can be changed from the drop down list in the Action Column.
Execute individual upload for Patient via button on the right.
Excluding results from the upload
Use the individual upload review.
Check the box on left most column of each result that is to be excluded.
Leave results that can be uploaded unchecked.
The exexute the individual upload.
Executing individual upload
Use the Upload Result for Patient button on the right to upload the inidividual patient results.
Any results with the left column in checked state will NOT be uploaded and will be flagged for future exclusion.
Patients will not recieve SMS notification if all results are excluded.
Patients will receive SMS notification if any of the results are uploaded (unchecked in left column).
Returning to Main Upload View
Clicking the back button on top left without executing the individual upload will Undo any changes and take you back to the main upload form view.
After executing the individual upload you will be returned to the Main Upload Form view and the status of the patients results will be updated to reflect changes that have occurred as a result of the individual upload being performed.